Follow Me On Social Media!
Are you craving a delicious and satisfying meal that will impress your family and friends? Look no further than these flavorful Beef and Cheese Chimichangas! This recipe elevates simple ingredients into a mouthwatering dish that perfectly blends savory beef, gooey cheese, and zesty sauce to create a culinary masterpiece.
The secret to these Beef and Cheese Chimichangas lies in the perfect balance of chilis and jalapeños in the sauce, adding a kick of flavor without overwhelming the taste buds. Whether you’re hosting a game night or looking for a crowd-pleasing dinner option, these chimichangas are guaranteed to disappear faster than you can imagine – they’re just that good!
Not only are these chimichangas a hit at gatherings, but they also make for a convenient meal prep option. You can easily prepare the filling in advance, assemble the chimichangas, and either fry or bake them when ready to serve. Plus, if you’re looking for a healthier alternative, try baking them for a crispy texture with less oil. So, get ready to delight your loved ones with these Beef and Cheese Chimichangas that are sure to become a staple in your recipe collection!
Quick Benefits
- Crowd-Pleaser: Impresses guests and family alike, making it a go-to dish for gatherings.
- Make-Ahead Friendly: Perfect for meal prep with the ability to store the filling or assemble chimichangas in advance.
- Healthier Option: Can be baked instead of fried for a lighter version with significantly less fat.
- Customizable and Complete Meal: Pair with traditional sides and a toppings bar for a full Mexican feast experience.
Why You’ll Love This Cheesy Beef Chimichangas Recipe Recipe
- Restaurant-Worthy Taste: Transform simple ingredients into a delicious meal that tastes like it’s from your favorite Mexican restaurant.
- Impressive Crowd-Pleaser: Your family and friends will be so impressed by the flavors and presentation that they’ll be requesting this dish regularly.
- Balanced Flavors: The savory, spiced beef filling perfectly complements the melty cheese and zesty sauce topping for a well-balanced taste experience.
- Versatile Meal Prep: Prepare the filling in advance or assemble the chimichangas ahead of time for easy weeknight dinners or entertaining.
- Healthier Baking Option: For a lighter version, bake the chimichangas instead of frying to reduce fat content while still enjoying a delicious meal.
- Complete Mexican Feast: Serve the chimichangas with traditional sides like Spanish rice, black beans, guacamole, and pico de gallo for a complete and satisfying meal.
- Customizable Toppings: Set up a toppings bar with sour cream, extra cheese, avocado, and hot sauces for everyone to personalize their chimichangas.
- Pro Tips for Success: Using the right equipment, choosing lean ground beef, and following the cooking instructions ensure a successful and enjoyable cooking experience.
- Make-Ahead Options: Prepare the filling in advance, store it in the refrigerator, and fry the chimichangas when ready. Serve immediately for the crispiest texture.
- Delicious Serving Suggestions: Top your chimichangas with extra cheese, sour cream, guacamole, cilantro, or salsa to enhance the flavors and presentation.
Ingredients for Cheesy Beef Chimichangas Recipe
Main Ingredients
- ½ medium onion, chopped
- 2 tsp. chili powder
- ½ tsp. oregano
- 4 oz. chopped jalapenos in a can
- 1 ½ cups shredded taco blend cheese
- 1 can refried beans
- 2 tsp. minced garlic
- 1 tsp. cumin
- 10 10-inch flour tortillas
- 4 oz. diced green chilis in a can
- 24 oz. tomato sauce
- Salt and pepper to taste
- 1 ½ lbs. ground beef
For Frying
- Oil for frying
Pro Tips for Cheesy Beef Chimichangas Recipe
To ensure your beef and cheese chimichangas turn out perfectly crispy and flavorful, opt for lean ground beef to reduce excess grease while keeping the filling tasty. When baking instead of frying, preheat your oven to 400°F and brush the assembled chimichangas with oil for a healthier option that still results in a delicious dish with less fat.
For a complete Mexican feast experience, pair your chimichangas with traditional sides like Spanish rice, black beans, guacamole, and fresh pico de gallo. Create a toppings bar with sour cream, extra cheese, diced avocado, and hot sauces for a customizable dining experience. To keep the chimichangas crispy and delicious, serve them immediately after frying and avoid drenching them in sauce, allowing the crispy exterior to shine.
When preparing these chimichangas for meal prep or entertaining, store the filling in the refrigerator for up to two days before assembling and frying. For a time-saving option, assemble the chimichangas ahead of time, wrap them individually in plastic wrap, and refrigerate for up to 24 hours before frying. Make sure to use the right equipment, like a large skillet with high sides for frying and a candy thermometer to maintain the oil temperature at 350°F, ensuring a successful cooking process.
How to Make Cheesy Beef Chimichangas Recipe
Step 1: Cook ground beef
Place ground beef in a skillet over medium-high heat. Cook until browned, then drain excess liquid.
Step 2: Prepare filling mixture
Add beans, onion, garlic, ½ cup of tomato sauce, chili powder, oregano, cumin, salt, and pepper to the skillet with the meat. Cook over medium heat for 5 minutes, stirring to combine.
Step 3: Heat tortillas
Microwave the tortillas until warmed.
Step 4: Prepare frying oil
Pour approximately one inch of oil into a deep skillet and heat over medium-high heat on the stove.
Step 5: Fill and roll chimichangas
Place an equal portion of filling in the center of each tortilla. Fold one end over the filling, tuck in the sides, and roll to create a packet. Secure with a toothpick.
Step 6: Fry chimichangas
Fry the filled chimichangas in heated oil until browned and crispy on both sides, monitoring closely as they cook quickly.
Step 7: Drain excess grease
Allow the chimichangas to cool on a paper towel-lined tray to drain excess grease.
Step 8: Prepare topping sauce
Combine the remaining tomato sauce, green chilis, and jalapeno peppers in a saucepan over medium heat. Warm the sauce and season with salt and pepper to taste.
Step 9: Serve
Spoon the sauce over the cooked chimichangas, sprinkle with shredded cheese, and serve.
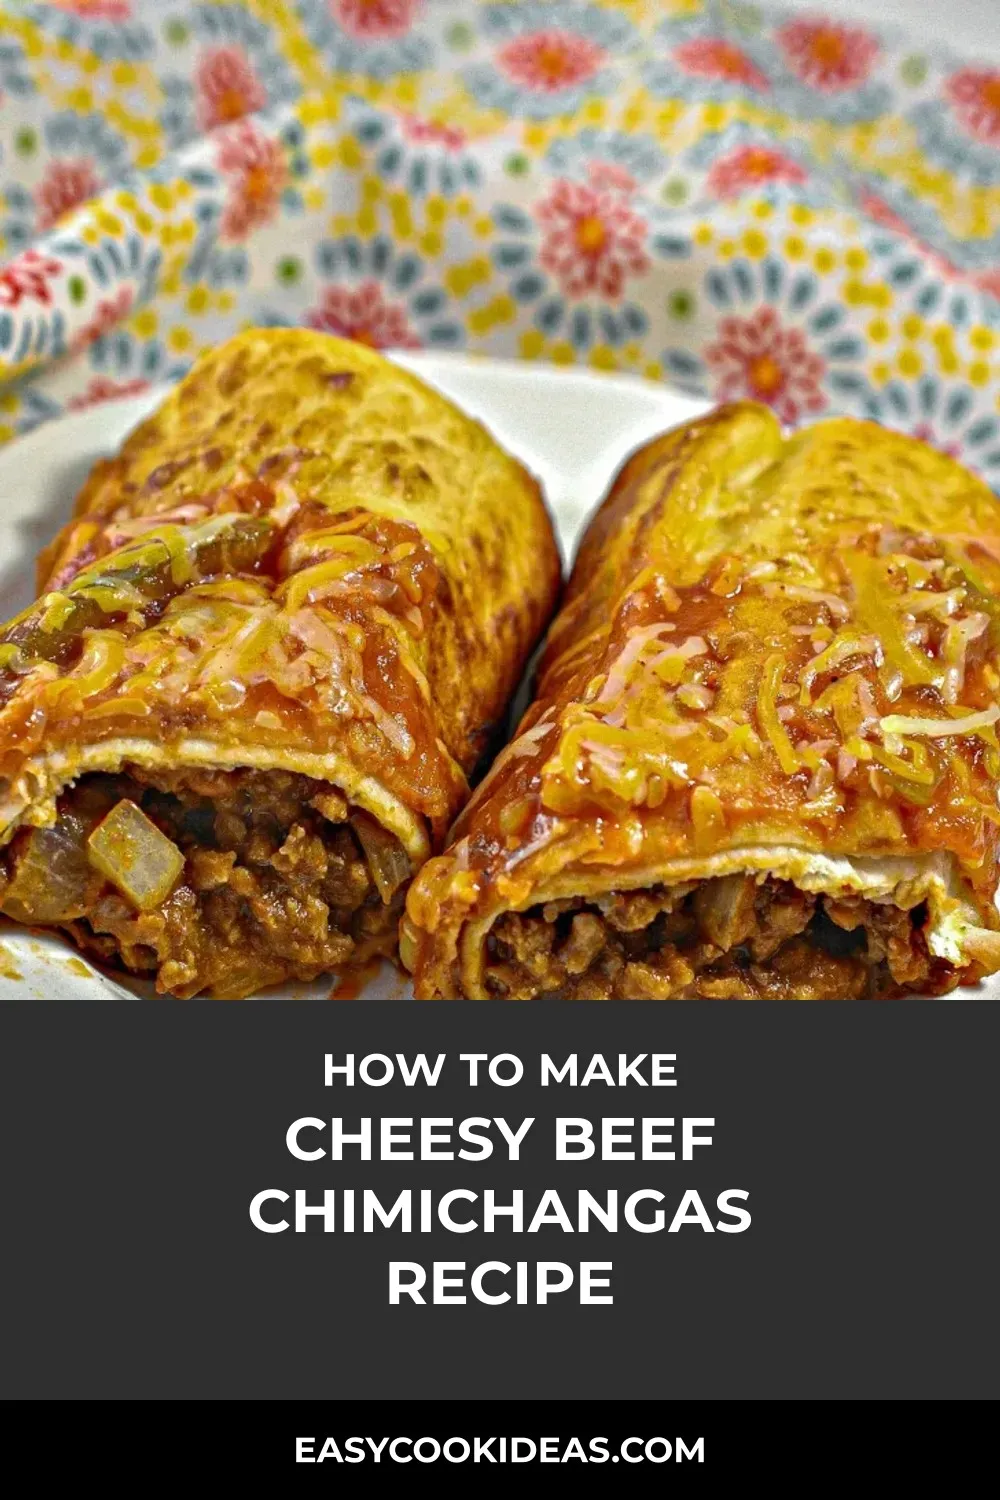
📌 Pin for later!
Storage Tips
To store the finished beef and cheese chimichangas, you can prepare the filling in advance and store it in an airtight container in the refrigerator for up to two days. When you’re ready to serve, simply reheat the filling, assemble the chimichangas, and fry them as directed. For more convenience, you can also assemble the chimichangas ahead of time, wrap them individually in plastic wrap, and refrigerate for up to 24 hours before frying. This makes them a perfect make-ahead option for busy weeknights or entertaining, allowing you to enjoy a delicious meal with minimal effort.
If you prefer a healthier alternative with less oil, you can bake the chimichangas instead of frying them. Preheat your oven to 400°F, place the assembled chimichangas on a baking sheet, brush them lightly with oil, and bake for 20-25 minutes until they are golden and crispy. While the texture may differ slightly from the fried version, they will still be delicious and have significantly less fat. By storing and preparing the chimichangas in these ways, you can enjoy the flavorsome dish at your convenience while ensuring it remains fresh and tasty.
Ingredient Substitutions
For a vegetarian version of these chimichangas, you can easily substitute the ground beef with plant-based crumbles or diced mushrooms for a flavorful and hearty filling. This swap will still provide a savory and satisfying component to balance with the cheese and zesty sauce.
If you prefer a milder heat level, you can adjust the amount of jalapenos and green chilis in the tomato sauce to suit your taste preferences. Alternatively, you can use mild green chilis or omit them altogether for a less spicy version of the chimichangas. This customization allows you to enjoy the dish without the intense heat, making it more suitable for those who prefer a milder flavor profile.
To make these chimichangas gluten-free, you can use gluten-free tortillas in place of the flour tortillas. There are many options available in stores or you can make your own gluten-free tortillas. This substitution allows individuals with gluten sensitivities or Celiac disease to still enjoy this delicious dish without compromising on taste or texture.
Serving Suggestions
For a creative serving suggestion, consider serving these beef and cheese chimichangas on a bed of crisp shredded lettuce, topped with a dollop of creamy sour cream and a sprinkle of fresh cilantro. This presentation not only adds a pop of color but also offers a refreshing contrast to the rich and savory flavors of the chimichangas.
Another fun idea is to create a DIY chimichanga bar for a casual gathering. Set out bowls of various toppings like diced tomatoes, sliced avocado, pickled jalapeños, and hot sauces, allowing your guests to customize their chimichangas to their liking. This interactive and customizable setup is a fantastic way to get everyone involved and adds a festive touch to your meal.
FAQs for Cheesy Beef Chimichangas Recipe
Can I bake the chimichangas instead of frying them?
Yes, you can bake the chimichangas for a healthier version. Preheat your oven to 400°F, place the assembled chimichangas on a baking sheet, brush them lightly with oil, and bake for 20-25 minutes until golden and crispy.
What are some suggested toppings for the chimichangas?
You can top the chimichangas with shredded cheese, sour cream, guacamole, chopped cilantro, or fresh salsa for added flavor and texture.
How far in advance can I prepare the chimichanga filling?
You can prepare the filling and store it in the refrigerator for 1-2 days before assembling and frying the chimichangas.
How can I maintain the crispiness of the chimichangas?
For optimal crispiness, serve the chimichangas immediately after frying and avoid overloading them with sauce. This helps retain their crispy exterior.
Conclusion
Beef and Cheese Chimichangas are a true crowd-pleaser that never fails to impress. Whether you’re hosting a gathering or simply looking to elevate a weeknight dinner, these crispy, flavorful chimichangas are sure to make everyone’s taste buds dance with joy. The perfect balance of savory beef, gooey cheese, and zesty sauce creates a delicious harmony that will have your family and friends coming back for more.
Don’t be intimidated by the idea of making chimichangas at home – with a little preparation and the right techniques, you’ll be amazed at how easy and rewarding it can be. The versatility of this recipe allows you to customize it to your liking, whether you prefer a healthier baked version or the classic fried indulgence. So go ahead, whip up a batch of Beef and Cheese Chimichangas and treat yourself to a taste of homemade Mexican goodness that’s bound to become a staple in your kitchen.
📌 Pin for later!
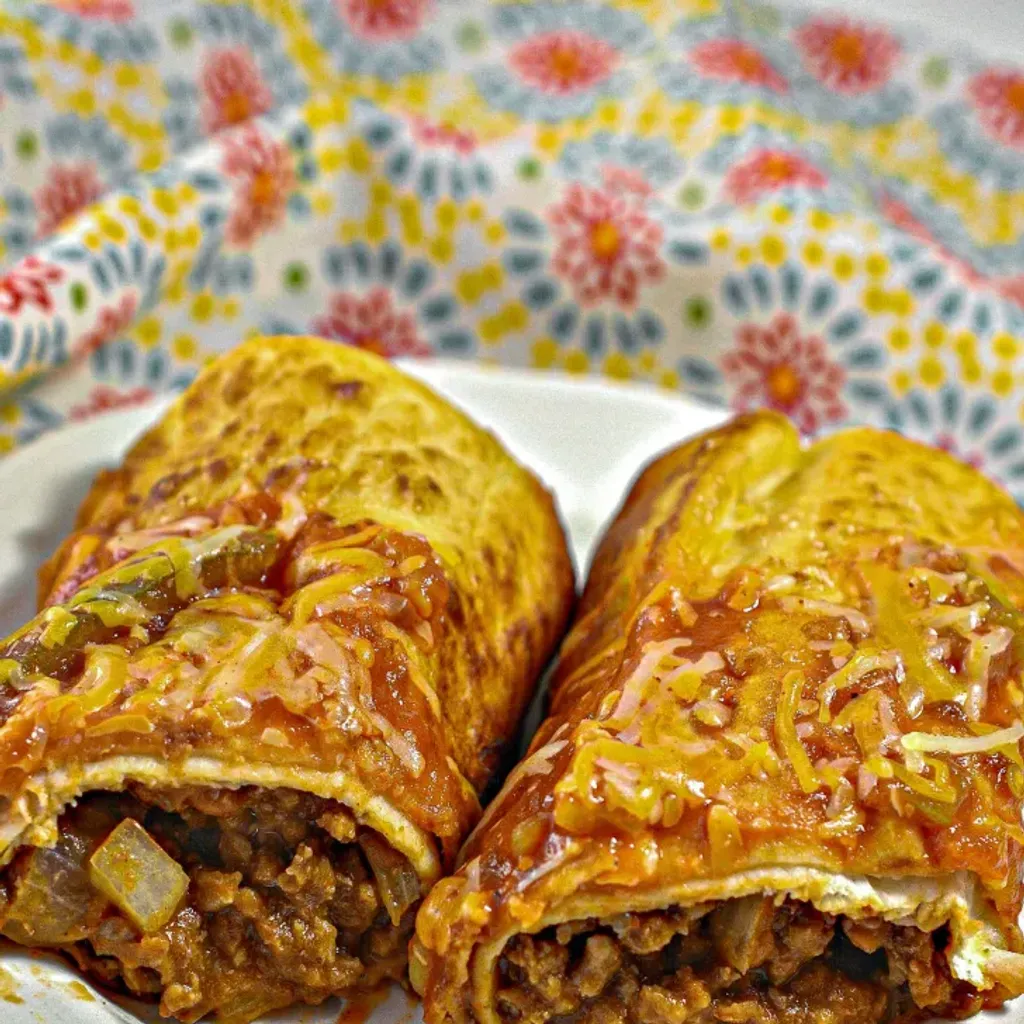
Cheesy Beef Chimichangas Recipe
Crispy Beef and Cheese Chimichangas – A savory, spiced beef filling wrapped in a crispy tortilla, topped with zesty sauce and melty cheese.
Prep Time15 Minutes
Cook Time20 Minutes
Total Time35 Minutes
CuisineMexican
Skill LevelEasy
Servings10 Servings
Ingredients
Main Ingredients
- ½ medium onion, chopped
- 2 tsp. chili powder
- ½ tsp. oregano
- 4 oz. chopped jalapenos in a can
- 1 ½ cups shredded taco blend cheese
- 1 can refried beans
- 2 tsp. minced garlic
- 1 tsp. cumin
- 10 10-inch flour tortillas
- 4 oz. diced green chilis in a can
- 24 oz. tomato sauce
- Salt and pepper to taste
- 1 ½ lbs. ground beef
For Frying
- Oil for frying
Instructions
-
Cook ground beef: Place ground beef in a skillet over medium-high heat. Cook until browned, then drain excess liquid.
-
Prepare filling mixture: Add beans, onion, garlic, ½ cup of tomato sauce, chili powder, oregano, cumin, salt, and pepper to the skillet with the meat. Cook over medium heat for 5 minutes, stirring to combine.
-
Heat tortillas: Microwave the tortillas until warmed.
-
Prepare frying oil: Pour approximately one inch of oil into a deep skillet and heat over medium-high heat on the stove.
-
Fill and roll chimichangas: Place an equal portion of filling in the center of each tortilla. Fold one end over the filling, tuck in the sides, and roll to create a packet. Secure with a toothpick.
-
Fry chimichangas: Fry the filled chimichangas in heated oil until browned and crispy on both sides, monitoring closely as they cook quickly.
-
Drain excess grease: Allow the chimichangas to cool on a paper towel-lined tray to drain excess grease.
-
Prepare topping sauce: Combine the remaining tomato sauce, green chilis, and jalapeno peppers in a saucepan over medium heat. Warm the sauce and season with salt and pepper to taste.
-
Serve: Spoon the sauce over the cooked chimichangas, sprinkle with shredded cheese, and serve.