Follow Me On Social Media!
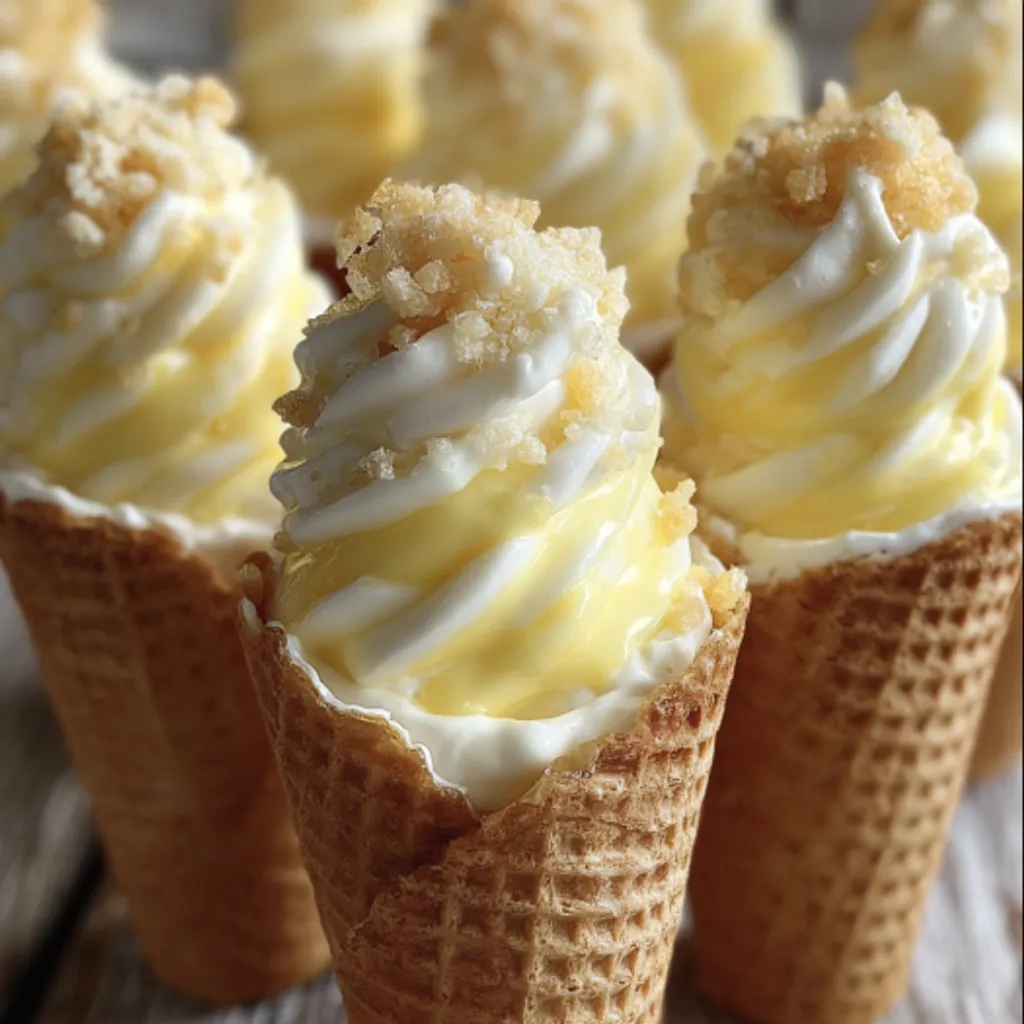
Indulge in the delightful fusion of flavors with these scrumptious Banana Pudding Cheesecake Cones. Combining the luscious richness of cheesecake with the comforting nostalgia of banana pudding, these handheld treats are a true crowd-pleaser. The juxtaposition of the crisp cone against the fluffy filling creates a textural symphony that will leave your taste buds dancing.
Crafting these Banana Pudding Cheesecake Cones has become a cherished tradition in my family, perfect for any celebration or a simple sweet surprise. From assembling them together during family nights to allowing each guest to customize their cone with their favorite toppings, these treats never fail to bring joy and create lasting memories. The versatility of this recipe allows for personalization, ensuring that everyone can tailor their cone to suit their preferences.
Whether you opt for the classic combination of ripe bananas and whipped cream or experiment with different flavors and toppings, these Banana Pudding Cheesecake Cones are sure to impress. So, gather your loved ones, get creative in the kitchen, and savor the delightful experience of building and devouring these charming desserts together.
Quick Benefits
- Playful Presentation: Delight guests with a charming, hand-held dessert that combines the rich tang of cheesecake with the creamy nostalgia of banana pudding.
- Customizable Treat: Let everyone build their own cone with toppings like whipped cream, caramel sauce, and crushed cookies for a fun and personalized experience.
- Make-Ahead Friendly: Prepare the filling and cookie crumb mixture in advance, and assemble the cones just before serving to maintain the best crunch.
- Versatile Options: Easily customize the recipe by swapping ingredients like instant vanilla pudding, chocolate wafer cookies, or using dairy-free alternatives for those with dietary restrictions.
Why You’ll Love This Delicious Banana Pudding Cheesecake Cones Recipe
- Creative and Playful Presentation: The combination of rich cheesecake and creamy banana pudding in a cone form makes for a charming and delightful dessert that will impress guests of all ages.
- Personalized Treat: Guests can customize their cones with various toppings like whipped cream, caramel sauce, or crushed cookies, adding a fun and interactive element to the dessert.
- Nostalgic Flavor: Inspired by the beloved Southern banana pudding, this recipe evokes memories of potlucks and picnics, offering a taste of nostalgia in a new, innovative way.
- Make-Ahead Option: While it’s recommended to assemble the cones just before serving for optimal crunchiness, the cheesecake filling can be prepared in advance, allowing for easy and stress-free entertaining.
- Versatile and Adaptable: The recipe offers variations for dietary preferences, such as dairy-free options using non-dairy cream cheese and coconut cream, ensuring everyone can enjoy these delicious treats.
- Perfect for Special Occasions: Whether it’s a summer birthday or a family gathering, these banana pudding cheesecake cones are a must-have dessert that will become a crowd favorite and leave a lasting impression on your guests.
Ingredients for Delicious Banana Pudding Cheesecake Cones
Cheesecake Filling
- 96 g instant banana pudding mix
- 455 g full-fat cream cheese, softened
- 5 ml pure vanilla extract
- 120 ml heavy whipping cream
- 120 g powdered sugar
- 360 ml cold whole milk
Cones
- 120 g vanilla wafer cookies, finely crushed
- 10–12 waffle cones or sugar cones
- 28 g unsalted butter, melted
Garnish
- Caramel sauce (optional)
- Sliced ripe bananas
- Additional crushed vanilla wafer cookies
- Fresh whipped cream
Pro Tips for Delicious Banana Pudding Cheesecake Cones
To ensure your banana pudding cheesecake cones stay crisp, it’s best to assemble them just before serving. However, you can prepare the cheesecake filling and cookie crumb mixture ahead of time and store them separately. This will help maintain the crunch of the cones and the freshness of the filling.
For a more intense banana flavor, consider adding mashed bananas to the cheesecake filling. Make sure to blend them well to achieve a smooth and creamy texture. This extra step will enhance the overall taste of the cones and provide a delicious burst of banana in every bite.
If you have dietary restrictions or preferences, feel free to customize the recipe by using non-dairy cream cheese, milk alternatives, and a suitable whipped topping. This way, you can create a dairy-free version of these delightful banana pudding cheesecake cones without compromising on flavor or texture.
How to Make Delicious Banana Pudding Cheesecake Cones
Step 1: Smooth the Cream Cheese Base
Combine softened cream cheese and powdered sugar in a large mixing bowl until smooth and creamy.
Step 2: Whip the Cream
In a chilled bowl, beat heavy whipping cream to soft peaks. Gently fold it into the cream cheese mixture to keep volume.
Step 3: Prepare Banana Pudding
In a separate bowl, whisk instant banana pudding mix with cold milk until thickened, about 2–3 minutes.
Step 4: Combine the Mixtures
Gently combine the banana pudding with the cream cheese and whipped cream mixture until well blended. Chill the filling while getting cones ready.
Step 5: Prepare Cookie Rim for Cones
Mix crushed vanilla wafer cookies with melted butter in a small dish. Dip the top edge of each cone into the mixture, then coat with cookie crumbs. Let cones set for a few minutes.
Step 6: Fill the Cones
Place the chilled banana pudding cheesecake filling into a piping bag or use a spoon to fill each cone generously.
Step 7: Garnish and Serve
Place banana slices, a dollop of whipped cream, extra crushed vanilla wafers, and optional caramel drizzle on top of each filled cone. Serve promptly.
📌 Pin for later!

Storage Tips
To store the banana pudding cheesecake cones, it’s best to fill the cones shortly before serving to prevent sogginess. However, you can prepare the cheesecake filling and cookie crumb mixture ahead of time and assemble the cones just before serving for the best crunch. The cheesecake filling can be tightly covered and stored in the fridge for up to two days, but any assembled cones should be eaten on the day they are made to maintain the desired texture.
When storing any leftover cones, place them in an airtight container in the refrigerator. Keep in mind that the texture of the cones may soften over time due to the moisture from the filling. For those with dietary restrictions, consider using non-dairy cream cheese, milk alternatives, and a suitable whipped topping to create a delicious dairy-free version of this delightful dessert.
Ingredient Substitutions
For a different twist, you can swap the instant banana pudding mix for instant vanilla pudding mix and add a half teaspoon of banana extract to achieve a similar banana flavor profile. Additionally, if you prefer a chocolatey option, consider using chocolate wafer cookies instead of vanilla wafer cookies for a unique variation.
If you need to make a dairy-free version of these banana pudding cheesecake cones, you can use dairy-free cream cheese and coconut cream as substitutes. This swap will still yield a creamy and delicious filling that everyone can enjoy, especially those with dietary restrictions. You can also opt for milk alternatives and a suitable whipped topping for a completely dairy-free dessert option that is just as tasty as the original.
Serving Suggestions
These Banana Pudding Cheesecake Cones are a delightful treat for any occasion! For a fun twist, set up a DIY cone bar with various toppings like mini chocolate chips, toasted coconut, and crushed nuts for guests to customize their cones. You can also try adding a few mashed bananas to the filling for a stronger banana flavor, creating a smooth and creamy texture that is sure to impress.
Another serving suggestion is to wrap these cheesecake cones in parchment paper for a mess-free picnic or birthday treat. The playful presentation of a cone filled with creamy cheesecake and banana pudding flavors is sure to spark nostalgia and create lasting memories for both kids and adults alike. Whether enjoyed at a party or a family night in, these cones are a guaranteed crowd-pleaser that will have everyone coming back for more!
FAQs for Delicious Banana Pudding Cheesecake Cones
Can I make the filling ahead of time?
Yes, you can prepare the cheesecake filling ahead of time and store it tightly covered in the fridge for up to two days. Just make sure to fill the cones shortly before serving to prevent sogginess.
Can I use a different type of cone besides waffle or sugar cones?
Yes, you can use your favorite type of cone, as long as it’s sturdy enough to hold the filling. Waffle cones and sugar cones are recommended in the recipe for their crunch and taste.
How can I enhance the banana flavor in the cheesecake filling?
If you want a stronger banana flavor, you can add a few mashed bananas to the filling. Make sure to blend the bananas well with the other ingredients for a smooth texture.
How should I store any leftover cones?
Any leftover cones can be stored in an airtight container in the fridge. However, note that the texture of the cones may soften over time due to the moisture from the filling.
Conclusion
As you embark on creating these delightful Banana Pudding Cheesecake Cones, remember that the joy of this recipe lies not just in the delicious flavors but also in the memories you’ll create while making and enjoying them with loved ones. The playful presentation of these cones adds a touch of whimsy to any gathering, making them a hit at parties or a special treat for family nights.
So go ahead, gather your ingredients, and let your creativity shine as you assemble these Banana Pudding Cheesecake Cones. Whether you’re topping them with extra whipped cream, caramel sauce, or a sprinkle of crushed vanilla wafers, the beauty of this recipe is in its versatility and the smiles it brings to those who indulge in its sweet goodness. Share the love and joy of these cones with your friends and family, and watch as they become a beloved favorite in your recipe collection.
📌 Pin for later!
Delicious Banana Pudding Cheesecake Cones
“Indulge in Banana Pudding Cheesecake Cones, a delightful twist on classic desserts, perfect for parties or family nights!”
Prep Time30 Minutes
Cook Time~ undefined
Total Time30 Minutes
CuisineAmerican
Skill LevelEasy
Servings12 Servings (10 to 12 cones)
Ingredients
Cheesecake Filling
- 96 g instant banana pudding mix
- 455 g full-fat cream cheese, softened
- 5 ml pure vanilla extract
- 120 ml heavy whipping cream
- 120 g powdered sugar
- 360 ml cold whole milk
Cones
- 120 g vanilla wafer cookies, finely crushed
- 10–12 waffle cones or sugar cones
- 28 g unsalted butter, melted
Garnish
- Caramel sauce (optional)
- Sliced ripe bananas
- Additional crushed vanilla wafer cookies
- Fresh whipped cream
Instructions
-
Smooth the Cream Cheese Base: Combine softened cream cheese and powdered sugar in a large mixing bowl until smooth and creamy.
-
Whip the Cream: In a chilled bowl, beat heavy whipping cream to soft peaks. Gently fold it into the cream cheese mixture to keep volume.
-
Prepare Banana Pudding: In a separate bowl, whisk instant banana pudding mix with cold milk until thickened, about 2–3 minutes.
-
Combine the Mixtures: Gently combine the banana pudding with the cream cheese and whipped cream mixture until well blended. Chill the filling while getting cones ready.
-
Prepare Cookie Rim for Cones: Mix crushed vanilla wafer cookies with melted butter in a small dish. Dip the top edge of each cone into the mixture, then coat with cookie crumbs. Let cones set for a few minutes.
-
Fill the Cones: Place the chilled banana pudding cheesecake filling into a piping bag or use a spoon to fill each cone generously.
-
Garnish and Serve: Place banana slices, a dollop of whipped cream, extra crushed vanilla wafers, and optional caramel drizzle on top of each filled cone. Serve promptly.