Follow Me On Social Media!
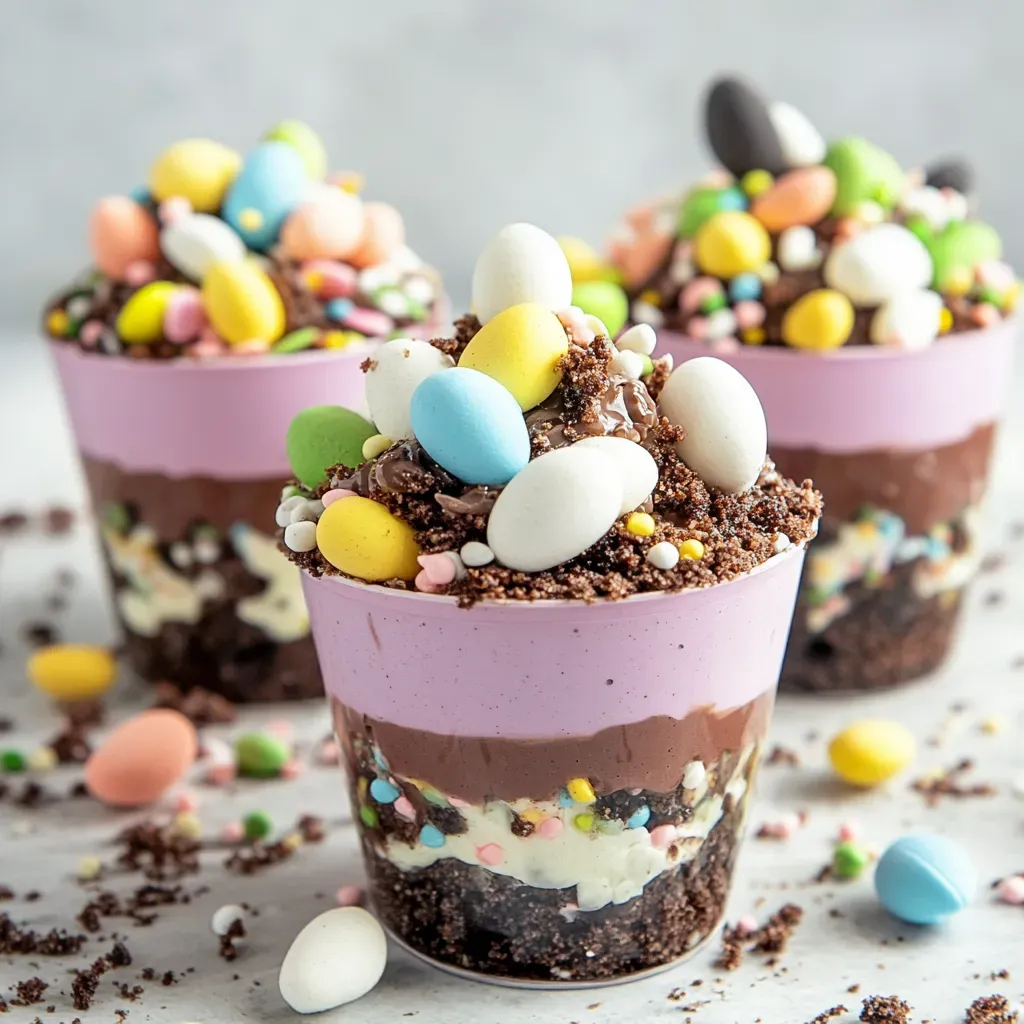
Get ready to impress your guests with a delightful and whimsical dessert that embodies the essence of spring – Easter Dirt Pudding Jars! These individual servings are not only visually striking but also incredibly easy to make, perfect for your busy holiday preparations. Layers of creamy pastel pudding paired with chocolate cookie crumbs create a satisfying textural contrast that will have everyone scraping their jars for one more delicious bite.
I first crafted these Easter Dirt Pudding Jars for my niece’s birthday party, and the reaction was priceless. The children were captivated by the colorful cups, and even the adults couldn’t resist indulging in this playful treat. Each spoonful of these jars brings out childlike joy, making them a hit with guests of all ages. The secret lies in the quality of your Oreo crumbs and the vibrant gel food coloring that adds a pop of color to the shredded coconut grass.
As you assemble these charming Easter Dirt Pudding Jars, remember to store them properly to maintain their freshness. The final touches of marshmallow Peeps and mini chocolate eggs should be added just before serving to keep the presentation at its best. Whether you’re serving these jars at a family gathering or a garden club meeting, these delightful treats are sure to bring smiles and joy to all who indulge in this festive dessert. Let’s hop into the kitchen and create a magical Easter experience with these delightful jars!
Quick Benefits
- Quick and Easy: Perfect for busy holiday preparations, these Easter dirt pudding jars come together quickly with no baking required.
- Visually Striking: Layers of pastel pudding and chocolate cookie crumbs create a whimsical treat that delights both children and adults.
- Satisfying Texture: Creamy pudding paired with chocolate cookie crunch offers a satisfying textural contrast that keeps everyone scraping for one more bite.
- Long-Lasting: Store these pudding jars properly, and they will maintain their texture and flavor beautifully, making them a great make-ahead dessert for Easter celebrations.
Why You’ll Love This Easter Bunny Dirt Pudding Jars Recipe
- Visually Appealing: The layers of pastel pudding and chocolate crumbs create a visually striking treat that is perfect for Easter celebrations.
- Quick and Easy: Requires no baking and comes together quickly, making it ideal for busy holiday preparations.
- Satisfying Textural Contrast: Creamy pudding paired with chocolate cookie crunch offers a delightful textural experience in every bite.
- Whimsical and Fun: The festive Easter decorations like coconut grass, mini chocolate eggs, and marshmallow Peeps add a playful touch that delights both children and adults.
- Impressive Presentation: These individual servings are visually impressive and perfect for special occasions without spending hours in the kitchen.
- Childlike Joy: Brings out the childlike joy in people of all ages, making it a perfect addition to family gatherings or parties.
- Maintains Freshness: Can be made ahead of time and refrigerated, with decorative toppings added closer to serving time to maintain freshness and presentation.
- Convenient Individual Servings: No need for cutting or serving, allowing guests to simply grab a cup and enjoy the festive dessert without interruption.
Ingredients for Easter Bunny Dirt Pudding Jars
Pudding Base
- 1 package Oreo cookies (finely crushed, with filling removed)
- 1 container (8 oz.) Cool Whip, thawed
- 2 cups cold milk
- 1 package (3.9 oz.) vanilla instant pudding mix
- Food coloring of your choice
Decoration
- Mini chocolate eggs
- Marshmallow Peeps
- Food coloring for coconut
- Shredded coconut
Pro Tips for Easter Bunny Dirt Pudding Jars
To achieve the most realistic dirt appearance in your Easter Dirt Pudding Jars, ensure you process the Oreo cookies to a fine, uniform texture. This step will create the perfect contrast with the creamy pudding layers. Opt for gel food coloring for more vibrant hues in your coconut grass, and remember that unsweetened coconut provides a more natural look for the grass topping.
For the best presentation and to prevent any condensation from affecting your dessert, store the assembled cups covered with plastic wrap, making sure to press the wrap onto the surface of the pudding. When adding the decorative toppings like coconut grass, Peeps, and chocolate eggs, do so no more than two hours before serving to maintain their fresh appearance. Consider presenting your Easter Dirt Pudding Jars on a decorated tray lined with additional coconut grass for a cohesive and charming display.
How to Make Easter Bunny Dirt Pudding Jars
Step 1: Make Your Pudding Base
Whisk vanilla pudding mix and cold milk in a medium bowl for 2 minutes until well combined. Let sit for 5 minutes to thicken.
Step 2: Create Colorful Pudding
Divide the pudding mixture into two bowls. Add different food coloring to each bowl to create desired spring colors.
Step 3: Add the Fluff
Gently fold Cool Whip into separate colored pudding mixtures to maintain distinct colors and create a light, mousse-like texture.
Step 4: Start Layering
Using mason jars, sprinkle a tablespoon of crushed Oreo cookies into the bottom of each jar to create a dirt-like base.
Step 5: Build Your Layers
Alternate layers of colored pudding mixtures and cookies until reaching the top, finishing with a layer of cookie crumbs.
Step 6: Chill Time
Refrigerate the layered jars for a minimum of one hour to allow the flavors to blend and the layers to set.
Step 7: Prep the “Grass”
Before serving, place shredded coconut in a container with a tight lid. Add green food coloring and a small amount of water. Close the lid securely and shake well until the coconut is evenly colored green.
Step 8: Final Decoration
Sprinkle colored coconut “grass” on top of each jar. Add mini chocolate eggs and a Peep on top to create an Easter garden scene.
📌 Pin for later!
Storage Tips
After preparing the Easter dirt pudding jars, it is important to store them properly to maintain their texture and flavor. To store the finished dish, cover each cup individually with plastic wrap, ensuring it is pressed directly onto the surface of the top layer to prevent condensation from dripping onto the dessert. The assembled cups can be refrigerated for up to two days before adding the decorative toppings. For best results, it is recommended to add the coconut grass, Marshmallow Peeps, and candy eggs no more than two hours before serving to keep the dessert looking fresh and to prevent any color bleeding from the candies into the coconut grass.
When presenting the Easter dirt pudding jars, you can elevate the dessert by displaying them on a decorated serving tray lined with additional green coconut grass for a cohesive and festive presentation. Consider including small dessert spoons with each cup to make it easier for guests to enjoy all the delicious layers. For a charming touch, you can tie pastel ribbons around the cups or jars and attach small name tags if serving at a seated gathering. These individual desserts are convenient for serving, allowing everyone to grab a cup and enjoy the festivities without any hassle.
Ingredient Substitutions
For a dairy-free or vegan option, you can substitute the instant vanilla pudding mix and cold milk with a dairy-free or vegan alternative, such as coconut milk or almond milk. Make sure the milk alternative is unsweetened to balance the sweetness of the other ingredients. Similarly, you can use a dairy-free whipped topping instead of Cool Whip, such as coconut whipped cream.
If you prefer a healthier twist, you could opt for a sugar-free or low-sugar instant pudding mix to reduce the overall sweetness of the dessert. Additionally, you can use whole wheat or gluten-free chocolate cookies instead of Oreo cookies for a different flavor profile or to accommodate dietary restrictions. You can also swap the mini chocolate eggs with dried fruit, nuts, or seeds for added texture and nutrition while maintaining the Easter theme.
Serving Suggestions
For a whimsical and festive presentation of the Easter Dirt Pudding Jars, consider serving them in mini terracotta pots. Line the pots with parchment paper for a clean presentation, then layer the creamy pastel pudding and chocolate cookie crumbs as usual. Top each pot with shredded coconut dyed in vibrant spring colors, mini chocolate eggs, and Marshmallow Peeps for a charming garden-inspired dessert that will delight guests of all ages.
To add an extra touch of elegance to the Easter Dirt Pudding Jars, serve them in clear glass mason jars tied with pastel ribbons and adorned with small name tags. Place the jars on a tiered dessert stand filled with decorative Easter grass for a visually appealing display. Guests can easily grab their individual jars, and the layers of creamy pudding and cookie crumbs will shine through the glass, showcasing the delightful textures and flavors of this whimsical spring dessert.
FAQs for Easter Bunny Dirt Pudding Jars
Can I use a different flavor of instant pudding mix?
Yes, you can customize the flavor of your dirt pudding jars by using a different flavor of instant pudding mix, such as chocolate or butterscotch. Just keep in mind that it may alter the overall taste and color of the dessert.
Can I make this dessert in advance?
Yes, you can assemble the Easter dirt pudding jars in advance and store them in the refrigerator for up to two days before adding the decorative toppings. Just make sure to cover each cup with plastic wrap to maintain freshness.
Can I use other toppings instead of Peeps and mini chocolate eggs?
Absolutely! Feel free to get creative with your Easter dirt pudding jars by using different toppings like gummy worms, sprinkles, or edible flowers. Just make sure they are Easter-themed and safe for consumption.
How should I store leftovers of this dessert?
If you have any leftover Easter dirt pudding jars, cover them with plastic wrap and store them in the refrigerator. Consume them within a day or two for the best taste and texture.
Conclusion
As you prepare to bring a touch of whimsy and delight to your Easter celebrations, consider adding these charming Easter Dirt Pudding Jars to your menu. The combination of creamy pudding, crunchy cookie crumbs, and festive decorations creates a treat that is sure to enchant both young and old alike. Whether you’re hosting a large gathering or simply looking for a fun and easy dessert to enjoy with your family, these individual jars are a perfect choice.
The joy that these Easter Dirt Pudding Jars bring to the table is truly infectious, making them a beloved tradition in many homes, including mine. Watching the faces light up with wonder and excitement as they dig into these delightful cups is a heartwarming experience that captures the spirit of the season. So, as you embark on your culinary journey to create these charming treats, remember that the magic of Easter Dirt Pudding Jars lies not just in their visual appeal but in the joy they bring to all who indulge in them. Happy Easter Dirt Pudding Jars-making!
📌 Pin for later!
Easter Bunny Dirt Pudding Jars
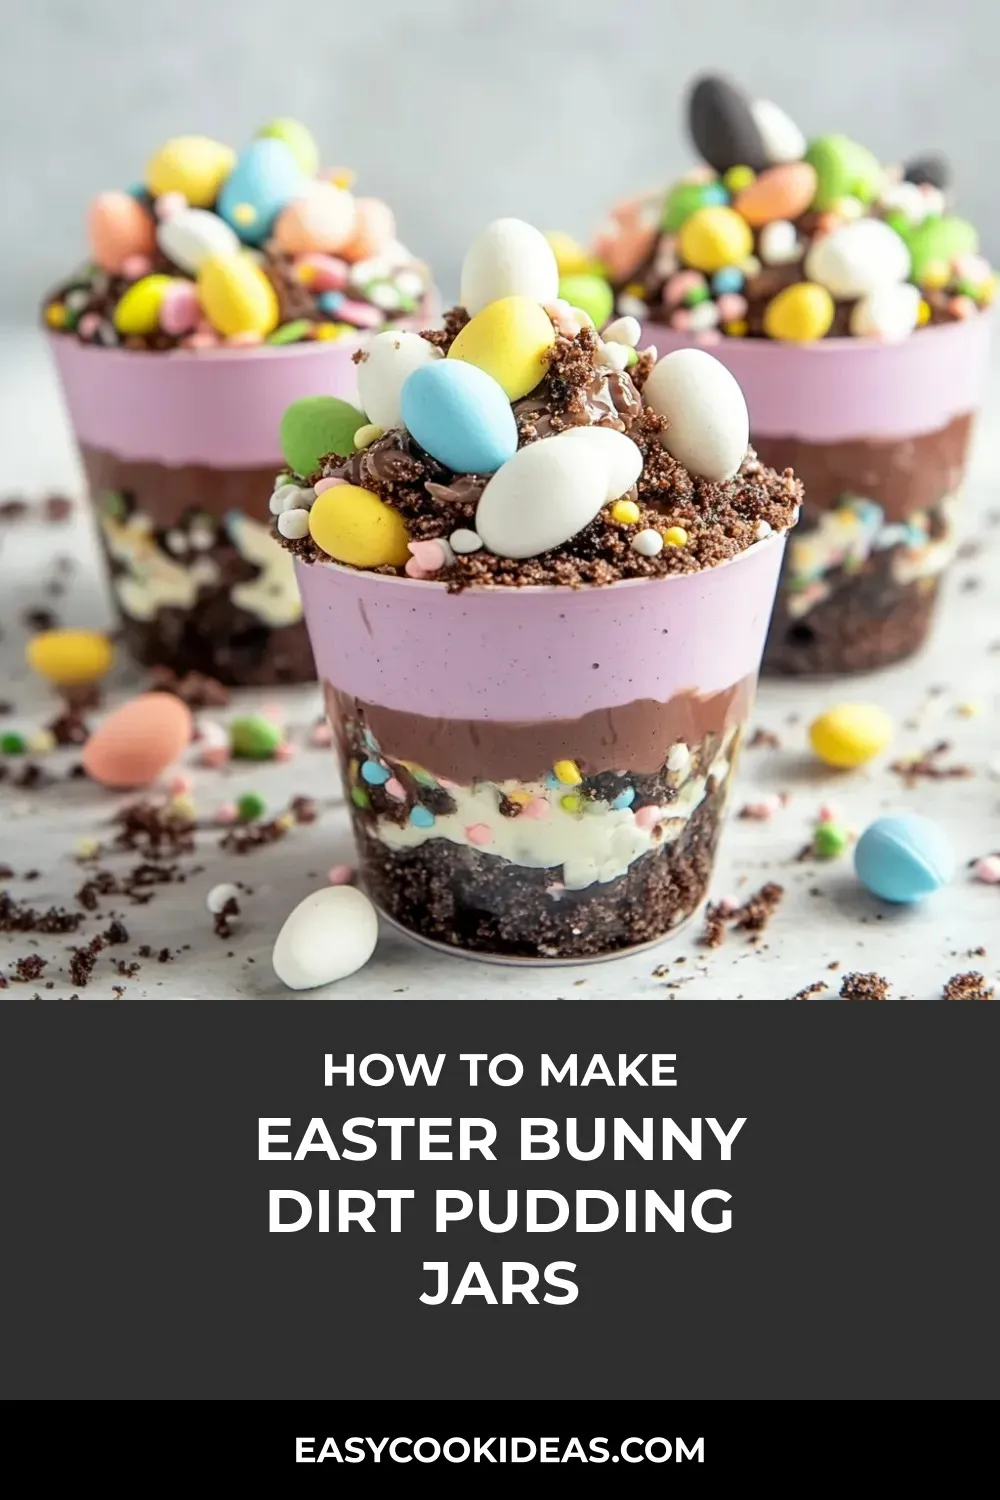
“Easter Dirt Pudding Jars: Layers of creamy pastel pudding and chocolate cookie crumbs topped with festive decorations, creating a whimsical and delightful spring dessert.”
Prep Time20 Minutes
Cook Time~ undefined
Total Time20 Minutes
CuisineAmerican
Skill LevelEasy
Servings8 Servings (8 mason jar desserts)
Ingredients
Pudding Base
- 1 package Oreo cookies (finely crushed, with filling removed)
- 1 container (8 oz.) Cool Whip, thawed
- 2 cups cold milk
- 1 package (3.9 oz.) vanilla instant pudding mix
- Food coloring of your choice
Decoration
- Mini chocolate eggs
- Marshmallow Peeps
- Food coloring for coconut
- Shredded coconut
Instructions
-
Make Your Pudding Base: Whisk vanilla pudding mix and cold milk in a medium bowl for 2 minutes until well combined. Let sit for 5 minutes to thicken.
-
Create Colorful Pudding: Divide the pudding mixture into two bowls. Add different food coloring to each bowl to create desired spring colors.
-
Add the Fluff: Gently fold Cool Whip into separate colored pudding mixtures to maintain distinct colors and create a light, mousse-like texture.
-
Start Layering: Using mason jars, sprinkle a tablespoon of crushed Oreo cookies into the bottom of each jar to create a dirt-like base.
-
Build Your Layers: Alternate layers of colored pudding mixtures and cookies until reaching the top, finishing with a layer of cookie crumbs.
-
Chill Time: Refrigerate the layered jars for a minimum of one hour to allow the flavors to blend and the layers to set.
-
Prep the “Grass”: Before serving, place shredded coconut in a container with a tight lid. Add green food coloring and a small amount of water. Close the lid securely and shake well until the coconut is evenly colored green.
-
Final Decoration: Sprinkle colored coconut “grass” on top of each jar. Add mini chocolate eggs and a Peep on top to create an Easter garden scene.