Follow Me On Social Media!
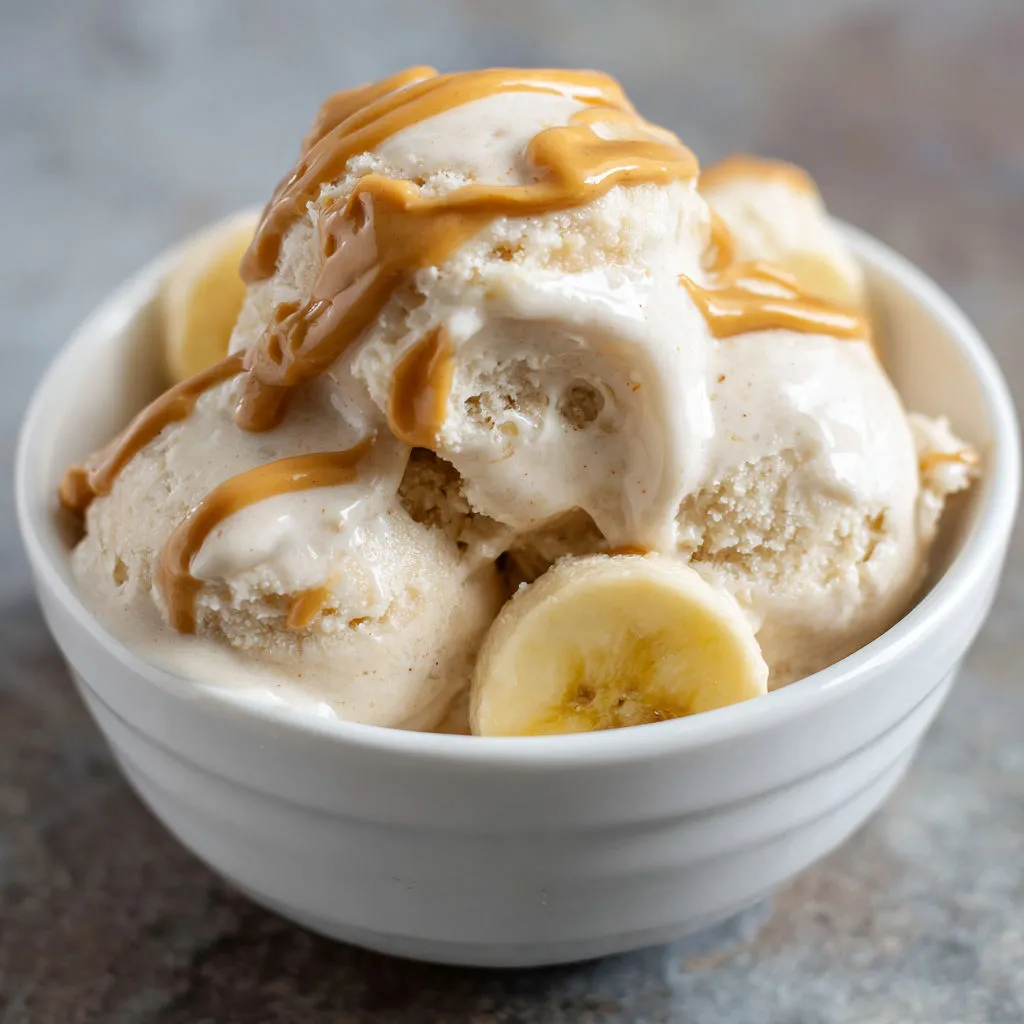
Looking to spoil your furry friend with a delicious and refreshing treat? Look no further than this easy and wholesome recipe for Dog Ice Cream With Banana! As the summer temperatures rise, treat your pup to a creamy and icy delight that will have their tails wagging with joy.
Made with simple and dog-friendly ingredients like ripe bananas, plain Greek yogurt, peanut butter, and water, this homemade dog ice cream is a hit with pups of all ages and sizes. Whether your canine companion needs a cool-down after playtime or simply deserves a tasty reward, these frozen treats are sure to become a favorite in your household.
I discovered the magic of this dog ice cream recipe when my senior beagle needed a pick-me-up in the summer heat. Not only did she perk up and regain her appetite, but all of my furry friends couldn’t get enough of these frosty bites. Whip up a batch of this delightful Dog Ice Cream With Banana and watch as your pets come running for their special frozen treat.
Quick Benefits
- Provides a cool and creamy treat for dogs during hot summer days
- Made with wholesome ingredients, ensuring safety and quality for your furry friends
- Can help perk up dogs’ appetite and offer a rewarding post-walk or playtime snack
- Easily customizable with dog-safe fruits and lactose-free yogurt options
Why You’ll Love This Homemade Banana Ice Cream for Dogs Recipe
- Your furry friend will go wild for this frosty and creamy homemade dog ice cream.
- This recipe is a great way to cool off your dog after playtime in the summer heat.
- Knowing exactly what goes into these treats gives you peace of mind about your dog’s diet.
- It’s a perfect snack to help perk up a senior dog or a picky eater.
- The joy on your dog’s face when they see these ice cream cubes is priceless.
- You can easily customize the recipe with dog-safe fruits like blueberries for added variety.
- With simple ingredients and easy preparation, this recipe is a fun and rewarding way to treat your dog.
- Having a stash of these treats in the freezer means your pup can enjoy a gourmet experience without fillers or preservatives.
- Involving kids in making and serving these treats adds a fun and interactive element to your dog’s snack time.
- The satisfaction of making something wholesome and safe for your dog will make this recipe a summer routine you look forward to.
Ingredients for Homemade Banana Ice Cream for Dogs
Main Ingredients
- 240 ml plain Greek yogurt
- 60 ml water
- 120 ml peanut butter, unsweetened and xylitol-free
- 2 ripe bananas, peeled and sliced
Pro Tips for Homemade Banana Ice Cream for Dogs
To make this dog ice cream extra special, use plain Greek yogurt for its thicker texture. Opt for unsweetened yogurt without any added sugar or flavors to keep it wholesome for your furry friends. Additionally, always be sure to use unsweetened, xylitol-free peanut butter to keep your pups safe and healthy.
When storing the treats, keep them in the freezer for up to two months in an airtight container to maintain their freshness. It’s best to only thaw as many portions as you need at a time, as the cubes can start to melt quickly on warm days. To ensure the best texture and minimize cleanup, serve the treats straight from the freezer.
For dogs with lactose intolerance, try using plain, unsweetened coconut or almond-based yogurt as a substitute for Greek yogurt. This simple swap will allow all furry friends to enjoy this delicious frozen treat. Feel free to experiment with other dog-safe fruits like blueberries, but always do your research to ensure they are safe for your pets to consume.
How to Make Homemade Banana Ice Cream for Dogs
Step 1: Combine Ingredients
Combine bananas, Greek yogurt, peanut butter, and water in a blender or food processor.
Step 2: Blend Mixture
Blend until the mixture is smooth and creamy.
Step 3: Divide and Freeze
Evenly distribute the blended mixture into ice cube trays or silicone molds.
Step 4: Freeze Until Solid
Freeze trays for a minimum of 2 hours until treats are firm.
Step 5: Serve
Take out the frozen ice cream cubes from the molds and serve as a treat.
📌 Pin for later!
Storage Tips
After making the homemade dog ice cream with banana, it’s important to store any leftovers properly. The best way to store the treats is in an airtight bag or container in the freezer. This helps maintain the freshness and texture of the ice cream cubes. You can store them for up to two months, making it convenient to have a supply on hand for your furry friends.
When serving the frozen dog ice cream, it’s recommended to take out only as many portions as you need at a time. This prevents unnecessary thawing and ensures the cubes remain frozen for the best texture. Remember that the cubes can start to melt quickly, especially on warm days, so it’s ideal to serve them straight from the freezer to keep them solid and make cleanup easier. By following these storage tips, you can continue to treat your dogs to a delicious and refreshing snack throughout the summer months.
Ingredient Substitutions
If your dog is lactose intolerant, you can substitute the plain Greek yogurt with a plain and unsweetened coconut or almond-based dairy-free yogurt to ensure your furry friend can still enjoy this frozen treat without any tummy troubles.
In case you run out of ripe bananas, you can swap them for unsweetened apple sauce as an alternative fruit option. This substitution will provide a similar texture and sweetness that your dog will still love.
For variety, you can experiment with other dog-safe fruits like blueberries to create different flavors of dog ice cream. Just remember to always research the safety of the fruits for dogs before using them in the recipe to ensure your pet’s well-being.
Serving Suggestions
For a fun and interactive way to serve this homemade dog ice cream, try filling a Kong toy with a couple of frozen cubes. This will provide your pup with a cool and tasty challenge as they work to lick and chew their way to the delicious treat inside.
Another creative serving suggestion is to create a dog-friendly ice cream sundae by layering the frozen cubes with some dog-safe fruits like blueberries or even small bits of cooked sweet potato. This colorful and nutritious twist on the classic treat will surely delight your furry friend and make their tails wag with joy.
FAQs for Homemade Banana Ice Cream for Dogs
Can I use regular yogurt instead of Greek yogurt for this recipe?
Yes, but plain Greek yogurt is preferred for its thicker texture. Opt for unsweetened yogurt without added sugar or flavors.
Why is it important to use unsweetened, xylitol-free peanut butter in this recipe?
Always use unsweetened, xylitol-free peanut butter. Xylitol is toxic for dogs and must be avoided.
How long can I store the dog ice cream treats in the freezer?
Store treats in the freezer for up to two months in an airtight container.
Can I substitute bananas with other fruits in this recipe?
You may try other dog-safe fruits like blueberries, but always research their safety for dogs first.
Conclusion
In conclusion, creating homemade Dog Ice Cream With Banana is a joyful and rewarding experience that brings delight to both you and your furry companions. As you whip up this simple yet wholesome treat, you are not only providing your dogs with a refreshing and tasty snack but also ensuring that they consume safe and nutritious ingredients.
The bond between you and your pets grows stronger as you witness their excitement and happiness when indulging in these frozen delights. So, don’t hesitate to treat your pups to a batch of homemade Dog Ice Cream With Banana and relish in the joy of giving them a special treat made with love and care. Let this recipe be a staple in your summer routine, bringing cool relief and wagging tails to your furry friends.
📌 Pin for later!
Homemade Banana Ice Cream for Dogs
Cool your pup down with a creamy homemade dog ice cream made with bananas, Greek yogurt, and peanut butter – tails will wag!
Prep Time10 Minutes
Cook Time~ undefined
Total Time10 Minutes
CuisinePet Treats
Skill LevelEasy
Servings15 Servings (12-15 frozen treats)
Ingredients
Main Ingredients
- 240 ml plain Greek yogurt
- 60 ml water
- 120 ml peanut butter, unsweetened and xylitol-free
- 2 ripe bananas, peeled and sliced
Instructions
-
Combine Ingredients: Combine bananas, Greek yogurt, peanut butter, and water in a blender or food processor.
-
Blend Mixture: Blend until the mixture is smooth and creamy.
-
Divide and Freeze: Evenly distribute the blended mixture into ice cube trays or silicone molds.
-
Freeze Until Solid: Freeze trays for a minimum of 2 hours until treats are firm.
-
Serve: Take out the frozen ice cream cubes from the molds and serve as a treat.